Chinese Dragon Kite
SIMPLE MINDMAP
 |
| This is just a basic mindmap of ideas to which I needed to consider when I begin to create my dragon kite |
When I first received our second project I was truly excited about the idea of making a kite and the first and only idea that came to mind was to create dragon centipede kite. But at this stage I didn't have a clue to how I was going to go about create it. Over time I will adapt and develop my ideas on this mindmap in attempt to show progress.
RESEARCH
Many of us acknowledge the fact that the birthplace of kites was China, over 2000 years ago. Traditionally, the Chinese kites were used as a important part of religious ceremonies. Many of these kites were a celebration in colour and beauty. The bright colours used were seen as a sign of a happier side of human life. But over the year, the use of kites has helped to create a numerous number of inventions. For example, ancient Chinese scientists used kites in an attempt to predict to weather forecast. The kite also help led to the invention of machines, such as aeroplanes.
The cultural meaning of kites seem to be the core celebration in China. It's more than just decorative and festive appearance of it when it flies in the air. It said to represent the traditional Chinese culture that's survived within today's society.
 |
| Image 1 |
SKETCHES

 |
| Side view of the dragons head |
 |
| Front view of the dragons head |
 |
| Design for the tail. |
These sketches are just basic ideas to how I want the dragons' head to look like. When it come to creating the different segments (the 3rd image) I intend to include something that represents me. This is because I want to include myself within its creation, even though it is inspired by the Chinese New Year Dragon.
Prototype 1 (Head)
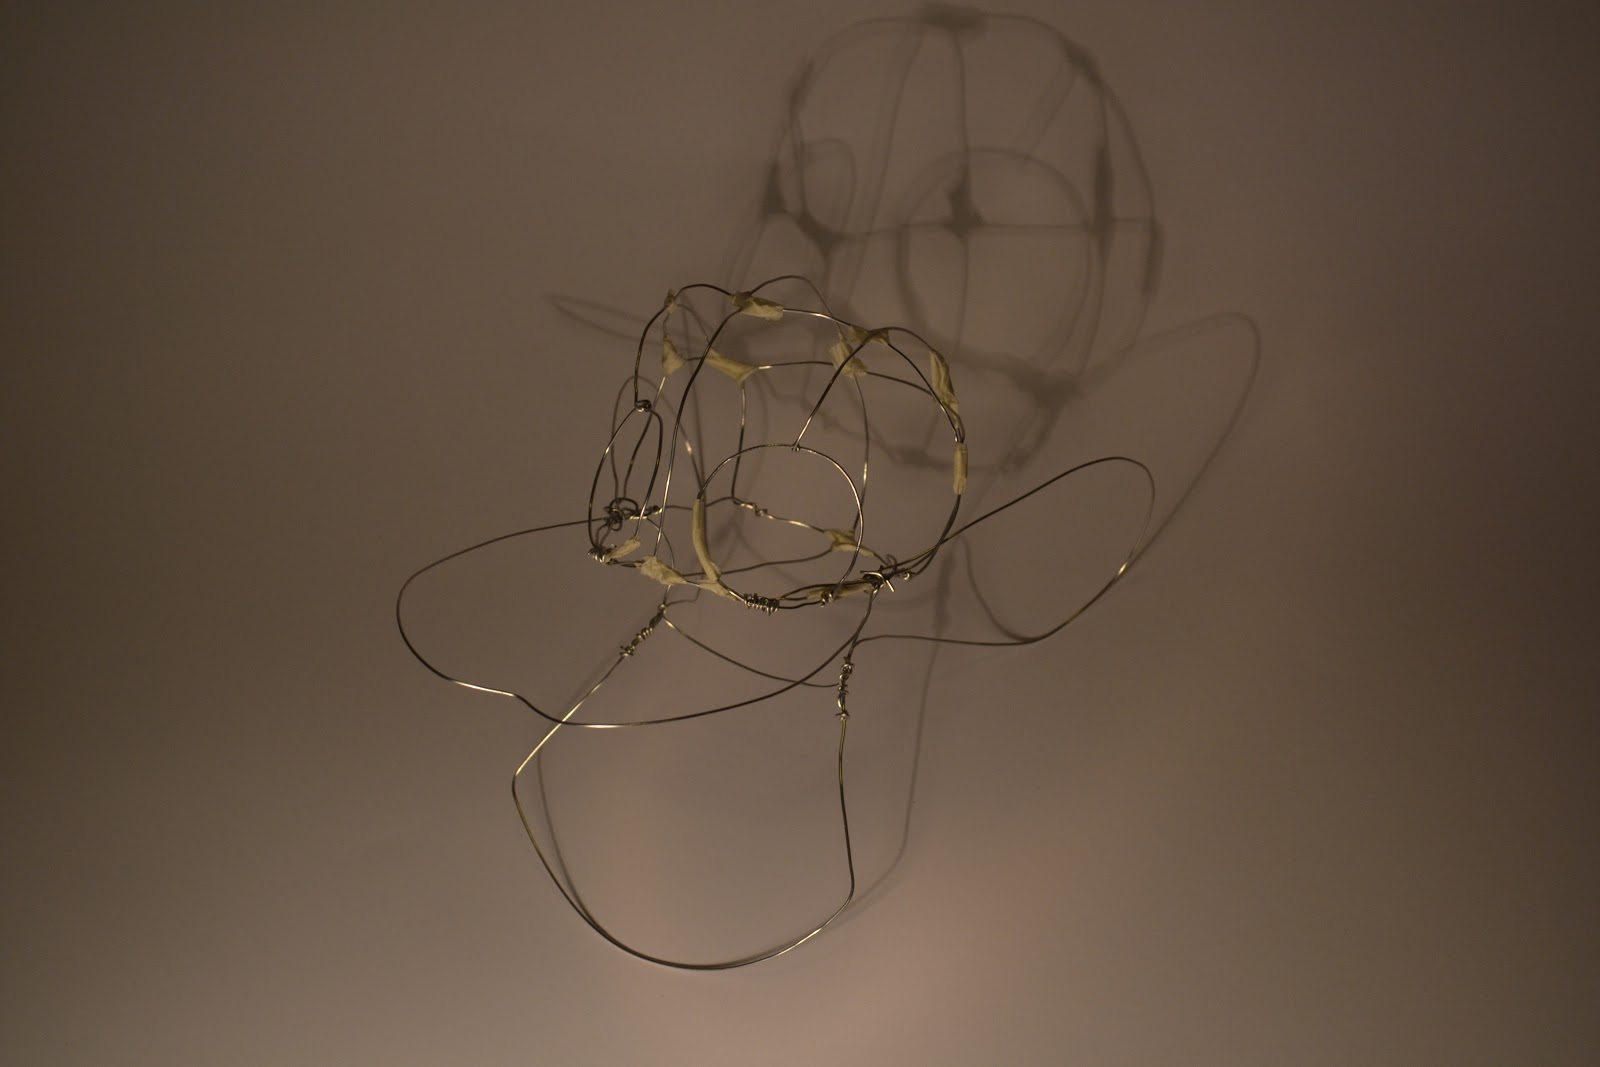


When creating this first mock up of the dragons' head I did not accurately measure the aluminium wire I was using, as I was unsure about were to begin to create it. I used the materials that I had initially put on my mindmap. I used aluminium wire and masking tape to bind to attach everything to one another.
However, doing this it made me more to confident to what I wanted to create and I help me to refine it when I created my second prototype.
Adavantages
- Easy to use
- Cheap
- Easy available
- Flexible
- Light
- Strong
- Not very stable material
Prototype 2 (Head)
When creating my second prototype I had a better idea on what I dragon head to look like, and felt me confident in the construction process.
 |
| Top half of the dragon head |


Prototype for the Tail 1
Measurements
- Circumference - 27cm
- Diameter - 10.5cm
Materials
- Aluminium wire - 1.5mm width
- Masking tape
- Tissue paper
- Thread

I had attempted to fly this prototype, however, I was unsuccessful in doing so their were a number of things that I had done wrong. For instance, I hadn't attached the bridles incorrectly on each segment. I aluminium wire was too heavy to lift it off the ground properly.
CHANGE OF PLAN!!

Instead of
Prototype for the Tail 2
 |
| I use a 6mm thick dowel to create the frame for the kite and plastic twist tie to bind the dowel to one another, |
 |
I used tissue paper to create the sails and masking tape to keep them in place. |

After my initial idea had been unsuccessful, I had decided to improve on in. Instead of doing the traditional circular tail for a centipede dragon kite, I have decided to do a geometric centipede dragon. This is because I wanted to create more of a stable and lighter structure to what I had previously made.
However, this didn't fly when I tested it for a number of reasons:
However, this didn't fly when I tested it for a number of reasons:
- I didn't make the spaces between each sail equal
- The string I used wasn't strong enough to hold everything together.
- The type of wood I used was too heavy
- I did create enough sails to help it fly properly
DIGITAL SKETCH
 |
| I create this drawing within Adobe Fireworks for how I want my kite to look like once its finished. |
The first few second of the video, is inspiration to how I would like my kite move through the air.
How to fly a Chinese Dragon Kite
Third Prototype

When creating my third prototype there were still a number of problems to be solved, such as keeping the kite as light as possible, materials, getting the spaces between each kite segment equal.
I managed to fix these problems that I was concerned about. For instance, I accurately measure a quater of a meter (15 inches) on a 5 meter piece of thread and bridled each one accordingly. To make it as light as possible I had decided to use the traditional way which was bamboo and tissue paper. And I used thread for creating the bridles (as I mentioned) and my flying line. However, after speaking to Karl, he had suggested that should use a non-resistent line such as Polyester flying line weighing a 40th Kg at a 100 meters.
Yet, I still have something's to which I had to solve with regards to it being seen in the dark, and is tissue paper really the best material to use with regards to british weather?
The original plan was to create the kite approximately 12 meters long a double the high and width of the prototype, but concerning the amount of time I have left and working out the costs of the amount of materials to which I will have to purchase to make it, I have decided to keep it with the measurement that I have used when creating my third prototype.
Creating my Final Kite
Due to the lack of time I had left of the project and to other commitments I had decided to keep the kite small (as I had created in the prototype), I was also unable to create the head or decorate the kite also due to the fact that creating the kite itself was time consuming and with other priorities. |
| Final Kite Sails: 25cm Height, 61cm Width Length of kite: 5.5 meters |
 |
| To make my kite more accurate and balanced I created a template to ensure that all the sails were equal to one another. |
 |

 |
| With my 3rd prototype I had used string to bind the bamboo sticks together, however, to add less weight I simply used tape to attach the sticks to the sails. I had done the same process on to twenty other sails. |

 |
| unlike with my other prototype that I had created, I added extra length to ensure more balance whilst in the air. |
Once I had finished attaching the bamboo to the sails I had to bridle each kite, with the space between each kite having to be equal to ensure that it would fly properly. I did the exactly same process as the with my 3rd prototype, however I used the string as was suggested by Karl.
The Kite in Flight
http://www.youtube.com/watch?v=1SUeBVvnsYQ&feature=plcp
The link above is a video that I posted on youtube of my kite flying
References
Image 1: http://www.airdynamics.co.uk/pics/kites/dragon80m01.jpg
https://www.blogger.com/blogger.g?blogID=673463527427856722#editor/target=post;postID=3735819211561863457 - I used this site to help me find out some information about the traditions of chinese kites.
No comments:
Post a Comment